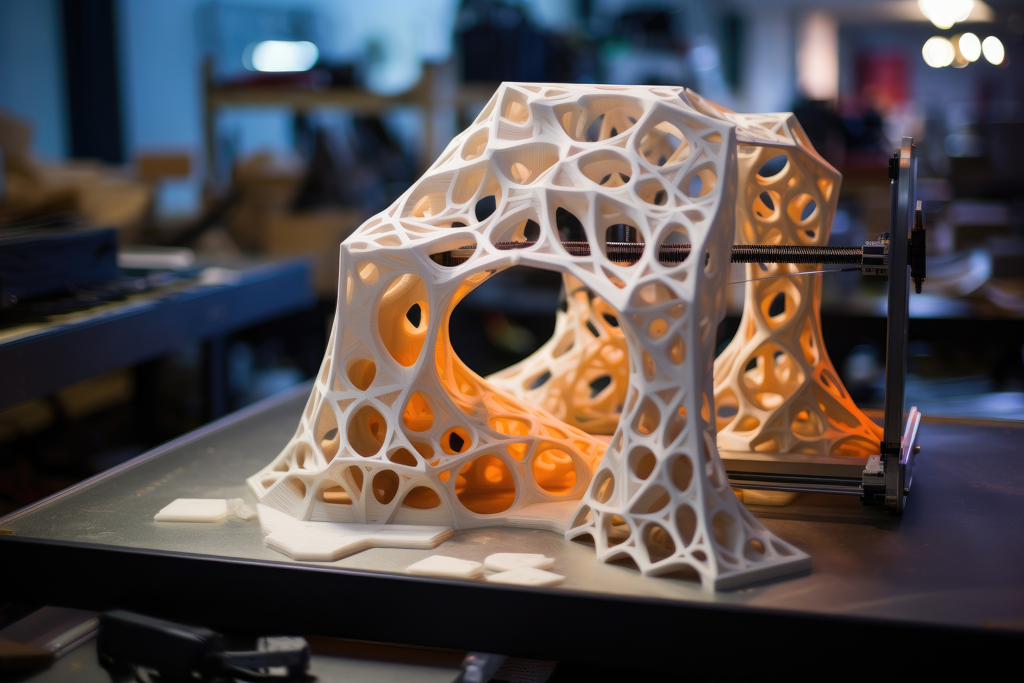
Introduction
3D printing is a captivating technology that allows anyone to bring digital designs into physical reality. Fused Deposition Modeling (FDM) is one of the most accessible 3D printing methods, ideal for beginners due to its affordability, ease of use, and material variety. In this guide, we’ll break down everything you need to know to get started with FDM printing, including essential components, common materials, setup steps, troubleshooting tips, and more.
What is FDM?
Fused Deposition Modeling (FDM) is an additive manufacturing process where thermoplastic filament is melted and extruded layer-by-layer to create a 3D object. It’s the most common form of 3D printing, widely used in hobbyist, prototyping, and educational settings.
Imagine you want to print a figurine. The printer’s nozzle (or hotend) heats up and extrudes melted filament, starting at the base layer. As each layer cools, the nozzle continues to build up subsequent layers until the figurine is fully formed.
Essential Components of an FDM Printer
Understanding the key components of an FDM printer will help you maintain it and diagnose common issues.
- Hotend: The hotend heats the filament until it reaches its melting point, allowing it to be extruded through the nozzle. The hotend’s temperature varies depending on the filament type.
- Extruder: This component feeds the filament into the hotend. There are two main types of extruders: direct drive, where the extruder is directly attached to the hotend (ideal for flexible filaments), and Bowden, where the extruder is mounted separately to reduce the weight on the moving parts.
- Build Plate (or Bed): The flat surface on which your print is created. Some build plates are heated to help with filament adhesion, which is particularly useful for filaments like ABS that tend to warp..
- Stepper Motors: Motors that control the movement along the X, Y, and Z axes. Proper calibration of these motors is essential for precise and accurate prints.
- Cooling Fan: A fan cools the filament as it’s laid down, helping it to solidify faster and keep its shape. This is especially important for small details and overhangs.
If you’re printing a large object like a vase, the cooling fan will help each layer cool quickly to avoid deformation. Meanwhile, the stepper motors carefully guide the hotend to form the contours and curves of the vase.
Choosing the Right Filament
The choice of filament significantly impacts the quality and durability of your prints. Here are some common options, along with their pros and cons.
- PLA (Polylactic Acid):
- Pros: Easy to print, low warping, and biodegradable. Great for prototypes, decorative items, or household objects.
- Cons: Not heat-resistant and can be brittle.
- ABS (Acrylonitrile Butadiene Styrene):
- Pros: Strong and durable; withstands heat and impact well.
- Cons: Prone to warping and emits fumes during printing, so it requires a well-ventilated area or an enclosure.
- PETG (Polyethylene Terephthalate Glycol):
- Pros: Combines PLA’s ease of use with ABS’s durability. It’s water-resistant and semi-flexible, making it a versatile choice.
- Cons: Slightly more challenging to print than PLA and requires a heated bed.
- TPU (Thermoplastic Polyurethane):
- Pros: Flexible and resilient, TPU is great for items that need to bend or compress.
- Cons: Requires a slow print speed and specific printer setups.
Setting Up Your Printer
Proper setup is critical to avoid common issues and ensure a successful first print.
- Level the Bed: This is the most crucial step. An uneven bed leads to poor adhesion and failed prints. Manual leveling typically involves adjusting screws at the corners of the bed to ensure it’s at an even distance from the nozzle. Some printers come with auto-leveling features, simplifying this process.
- Tip: Place a piece of paper between the nozzle and the bed, and adjust until the nozzle lightly scrapes the paper.
- Set the Right Temperatures:
- Nozzle Temperature: PLA generally prints well at 180-220°C, ABS at 230-250°C, and PETG at 220-250°C.
- Bed Temperature: PLA benefits from a heated bed at around 60°C, while ABS and PETG need a higher temperature (90-110°C) to prevent warping.
- Example: When printing with PLA, a nozzle temperature of 200°C and a bed temperature of 60°C work well for most designs.
- Adjust Print Speed and Layer Height: These settings impact print time and quality. A standard layer height for beginners is 0.2 mm, while a speed of 50 mm/s is typically stable.
- Example: For a fine-detailed figurine, lower the layer height to 0.1 mm to capture the details, though it will increase print time.
Troubleshooting Common FDM Issues
Understanding common printing issues will help you troubleshoot and improve your print quality.
- Warping: Warping occurs when the bottom layers of a print cool too quickly, causing them to contract and lift off the bed.
- Solution: Increase bed temperature, use an adhesive (like glue stick or painter’s tape), or add a brim around your model for stability.
- Stringing: Fine strands of filament appear between separate parts of the print due to excess filament oozing from the nozzle.
- Solution: Enable retraction in your slicer software and adjust retraction distance and speed.
- Layer Shifting: Layers are misaligned due to loose belts, motor issues, or collisions.
- Solution: Check that all belts are tight and ensure the printer is on a stable, vibration-free surface.
Tips for Your First Print
Starting with a successful first print can build confidence and help you understand the basics.
- Start with a Simple Model: Choose a basic design like a calibration cube or a keychain to get familiar with the printer settings.
- Use Pre-made Profiles: Many slicing software programs, such as Cura, come with built-in profiles for common materials like PLA, ABS, and PETG. This can save time and ensure good results.
- Monitor the First Layer: The success of a print largely depends on the first layer. Watch it carefully to ensure proper adhesion and troubleshoot any immediate issues.
Post-Processing Tips
Post-processing can improve the look and durability of your prints, making them more visually appealing and functional.
- Sanding: Smooth rough surfaces with fine-grit sandpaper, especially for PLA and ABS prints.
- Painting: Primer and acrylic or spray paints can transform a print’s appearance, adding detail and color.
- Joining Parts: For multi-part models, use superglue or epoxy to assemble pieces.
For example, if you print a figurine, sanding it down and painting with an airbrush or spray paint can give it a polished, professional look. Adding a clear coat will help protect the paint and maintain its vibrancy.
Conclusion
Mastering FDM 3D printing takes patience and practice, but with a solid understanding of the basics, you’ll be well on your way to creating impressive prints. Don’t be discouraged by initial hiccups—every print is an opportunity to learn and improve. Happy printing, and welcome to the 3D printing community!
Happy Printing!!
Sources
https://3dprintingforbeginners.com
Cover photo by: Ai Generated Stock photos by Vecteezy
Discover more from PrintCraft.gr
Subscribe to get the latest posts sent to your email.